

Advertisements
So there I was, staring at my iPhone like it had personally betrayed me. The thing was slower than my grandma’s dial-up internet, and I knew it was time for the nuclear option. Factory resetting your iPhone might sound scary, but trust me, sometimes it’s exactly what your device needs!
Whether you’re selling your phone, troubleshooting weird glitches, or just want a fresh start, knowing how to properly wipe your iPhone is super important. I learned this the hard way when I almost sold my old iPhone 11 without erasing my data first. Yikes, right?
Why Would You Even Need to Factory Reset?
Honestly, there’s a bunch of reasons why you might need to restore your iPhone to factory settings. Maybe your phone’s been acting up lately, apps keep crashing, or it’s running slower than a snail in molasses. A hard reset can fix a lot of these annoying issues.
I once had this problem where my iPhone kept freezing randomly. Tried everything, even talked to Apple Support about it. Nothing worked until I did a complete factory reset, and boom, it was like having a brand new phone again.
Other times you might need to erase all content include:
- Selling or giving away your device
- Trading in your iPhone for an upgrade
- Fixing persistent software bugs
- Starting completely fresh without old apps and data
Before You Hit That Reset Button
Hold up! Don’t just dive in without preparing first. I made this mistake once and lost about two years worth of photos. Not fun, let me tell you. The regret was real.
First things first, you gotta backup your iPhone. You can do this through iCloud or by connecting to your computer and using iTunes or Finder. Personally, I do both because I’m paranoid like that.
Also, make sure you remember your Apple ID password. You’ll need it after the reset to sign back in. And don’t forget to sign out of iCloud before resetting, otherwise you might run into Activation Lock problems later.
Quick Backup Checklist
- Check your iCloud backup settings
- Download any important photos to your computer
- Note down important app data that might not backup automatically
- Sign out of your Apple ID
- Turn off Find My iPhone
The Actual Factory Reset Process
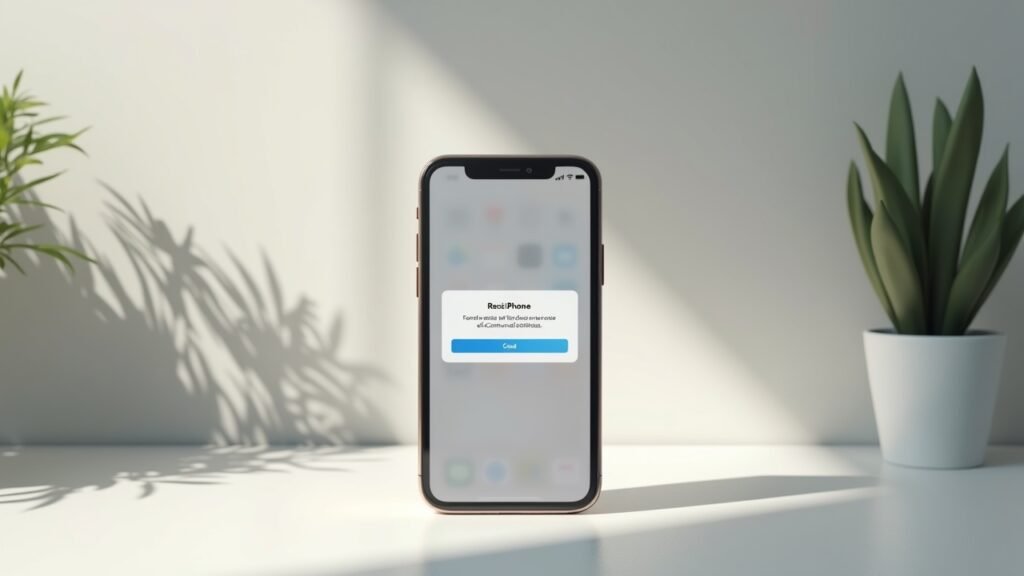
Alright, here’s where the magic happens. Go to your Settings app, then tap General. Scroll all the way down until you see “Transfer or Reset iPhone” and tap on that bad boy.
From there, you’ll see the option to “Erase All Content and Settings.” This is the one you want. Your phone will ask for your passcode and Apple ID password to confirm. It’s basically Apple making double sure you actually want to do this.
The whole process takes maybe 10-15 minutes depending on your iPhone model. My iPhone 13 Pro took about 12 minutes last time I did it. Just let it do its thing and don’t interrupt it, seriously.
For a visual walkthrough, this helpful video breaks down the entire process step by step:
Watch: How to Factory Reset iPhone Tutorial
What If Your iPhone Won’t Turn On?
Sometimes you need to factory reset an iPhone that’s completely frozen or won’t respond. Been there, done that. This requires connecting to a computer and using recovery mode.
You’ll need to connect your iPhone to your Mac or PC, then force it into recovery mode by pressing specific button combinations. The Apple support page has the exact steps for each iPhone model since they’re all slightly different.
After the Reset: What Now?
Once your iPhone finishes resetting, you’ll see that familiar “Hello” screen. It feels weirdly satisfying, not gonna lie. From here, you can either set it up as a new iPhone or restore from your backup.
If you’re keeping the phone, I’d recommend restoring from backup to get all your stuff back. But if you was experiencing software issues before, maybe try setting it up fresh and only reinstalling the apps you actually use. Sometimes that old backup carries over whatever problem you had.
Time for a Fresh Start
Factory resetting your iPhone isn’t as intimidating as it seems once you’ve done it a couple times. The key is preparing properly with backups and making sure you’ve signed out of everything. Don’t rush through it, take your time, and your iPhone will thank you for it.
Just remember to always backup your data first. I cannot stress this enough after my photo disaster. Have you got any iPhone troubleshooting tips or horror stories? We’d love to hear about them! Check out more tech guides and helpful articles over at Fix Fable where we cover everything from smartphone fixes to gaming tips.