
Best Webcam Settings: How to Finally Stop Looking Like a Potato on Camera
Advertisements
Here’s a stat that honestly blew my mind — over 80% of people never touch their webcam settings beyond the factory defaults. That means most of us are showing up to Zoom calls, streams, and video recordings looking washed out, grainy, or weirdly orange. I was one of those people for way too long!
I remember joining a work meeting a couple years back and my coworker literally asked if I was calling in from a cave. Turns out, my webcam settings were all over the place. Since then, I’ve spent an embarrassing amount of time tweaking every little slider, and honestly, the difference is night and day.
So let me walk you through the best webcam settings I’ve figured out through a lot of trial and error. Trust me, your face deserves better.
Resolution and Frame Rate: The Foundation of Everything
First things first — you gotta set your resolution right. If your webcam supports 1080p, use it. I made the mistake of leaving mine at 720p for months because I didn’t realize my Logitech webcam defaulted to the lower setting.
For frame rate, 30fps works perfectly fine for most video calls and recordings. If you’re streaming on Twitch or doing content creation, bump it up to 60fps for that smoother look. Just keep in mind that higher frame rates eat up more bandwidth, so make sure your internet can handle it.
One quick aside — don’t confuse resolution with video quality. You can have 1080p and still look terrible if your other settings are off.
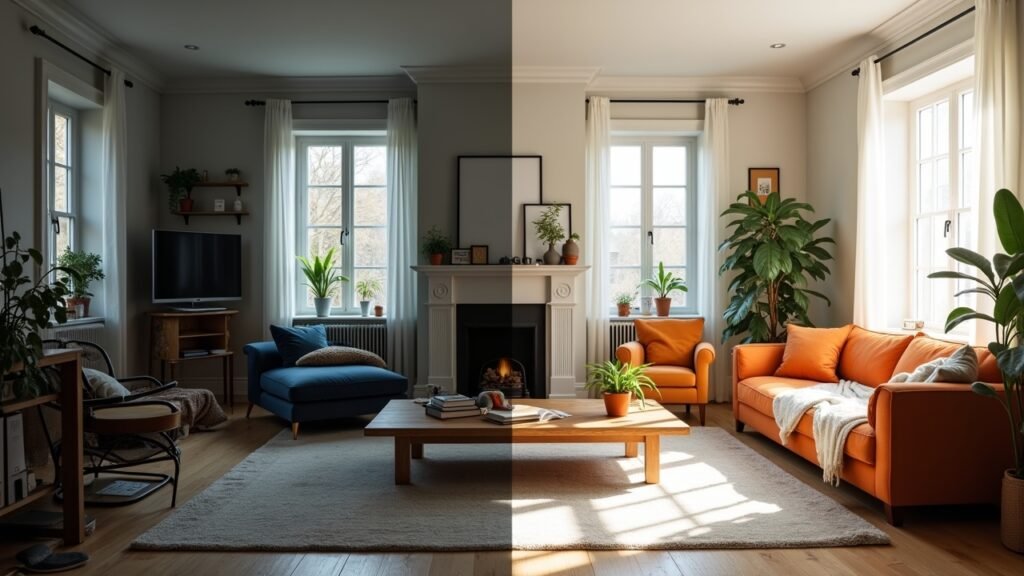
Exposure and Brightness: Stop Looking Like a Ghost
This one was my biggest headache for the longest time. Auto exposure sounds great in theory, but it kept adjusting every time I moved or someone walked behind me. So annoying.
Here’s what I’d recommend: switch to manual exposure and set it somewhere between -4 and -6, depending on your lighting setup. Then adjust brightness to compensate. You want your face to be well-lit without being blown out — that means no bright white patches on your forehead or cheeks.
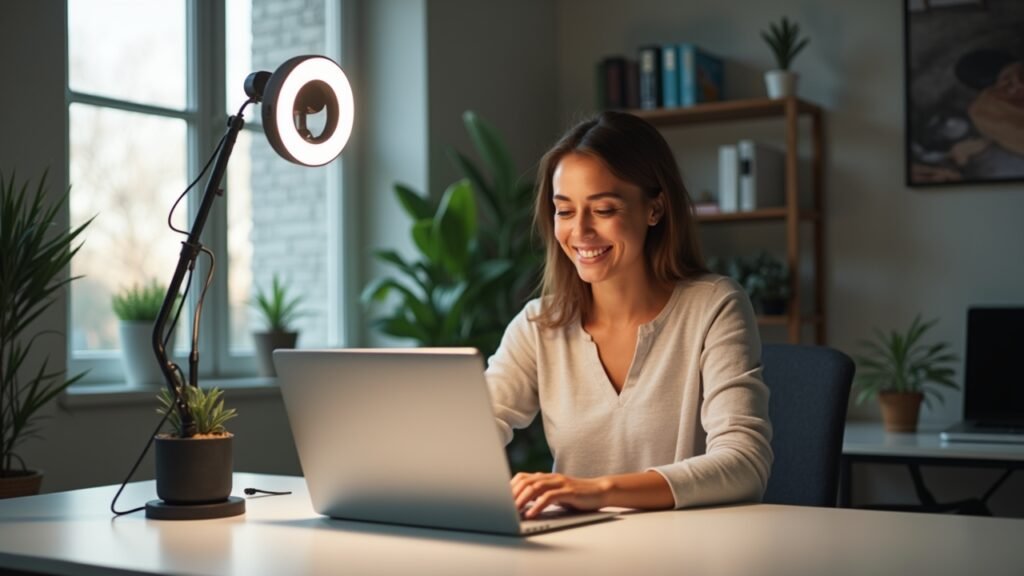
If you’re working near a window, natural light is your best friend. Just make sure it’s facing you, not behind you. I learned that the hard way when I spent an entire presentation looking like a shadowy silhouette.
White Balance: Why You Look Orange (or Blue)
White balance controls the color temperature of your video feed, and getting it wrong makes you look like you’ve either got a bad spray tan or you’re filming in an igloo. Most webcam software like OBS Studio lets you adjust this manually.
For warm indoor lighting, set your white balance around 4000-4500K. For cooler daylight, aim for 5500-6500K. I personally keep mine around 5000K because my home office has a mix of both, and it seems to be the sweet spot.
Auto white balance can actually work okay in some situations, but it tends to shift colors randomly during calls. Manual control is almost always better if you want consistency.
Sharpness, Contrast, and Saturation: The Finishing Touches
These three settings are where people tend to go overboard. I once cranked my sharpness to max thinking it would make me look clearer. Nope — it just made every pore on my face look like a crater on the moon.
Keep sharpness at about 50-60% of its maximum value. For contrast, a slight bump above default usually adds some nice depth to your image without making things look harsh. And saturation? Leave it close to default or just barely increase it so your skin tones look natural.
A little goes a long way with these adjustments. Seriously, less is more here.
Autofocus vs. Manual Focus
If you’re sitting relatively still at a desk, manual focus is the way to go. Autofocus can hunt around and suddenly blur your face while it tries to lock onto something in the background. It’s been the cause of some pretty embarrassing moments in my meetings.
Set your manual focus so your face is sharp and crisp, and then just leave it alone. Most webcam apps like the Camo app make this really straightforward.
Now Go Make Yourself Look Amazing
Look, getting your webcam settings dialed in doesn’t require a film degree. It just takes a few minutes of tweaking and you’ll immediately look more professional, more polished, and honestly, more like yourself. Everyone’s setup is different though, so don’t be afraid to experiment with what works for your specific lighting and environment.
And hey, if you found this helpful, head over to the Fix Fable blog for more tips on getting your tech working the way it should. We’ve got plenty of guides that’ll save you from making the same goofy mistakes I did!